Translation: Step 3 - Import Translation Projects
This step describes how to import files (which should be translate) into Eclipse before you can start the translation.
Download Translation Archive
The translation archive contains text files for all languages.
- Download the translation archive from the GIT repository
- Extract the archive into any folder, in this documentation, the folder C:\MT-translation is used
Remove existing plugin projects
When a translation was already done and the translation is startet for a newer version, it is possible, that the structure of the plugins has changed (e.g. the plugin de.byteholder has been removed in version 10.7).
Because of this situation, all existing plugin projects in the workspace should be deleted.
This can be done by selecting all projects in the Package Explorer view and press the Del-key.
In the opened dialog check the option "Delete project contents on disk" and press OK.
Import Translation Project
When folders are only located in the Eclipse workspace folder, they are not yet available within Eclipse, they must be imported first.
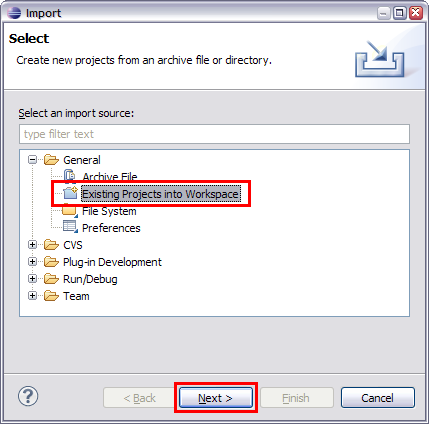
- Select File/Import from the menu
- Select General/Existing Projects into Workspace
- Select Next

Get translation projects
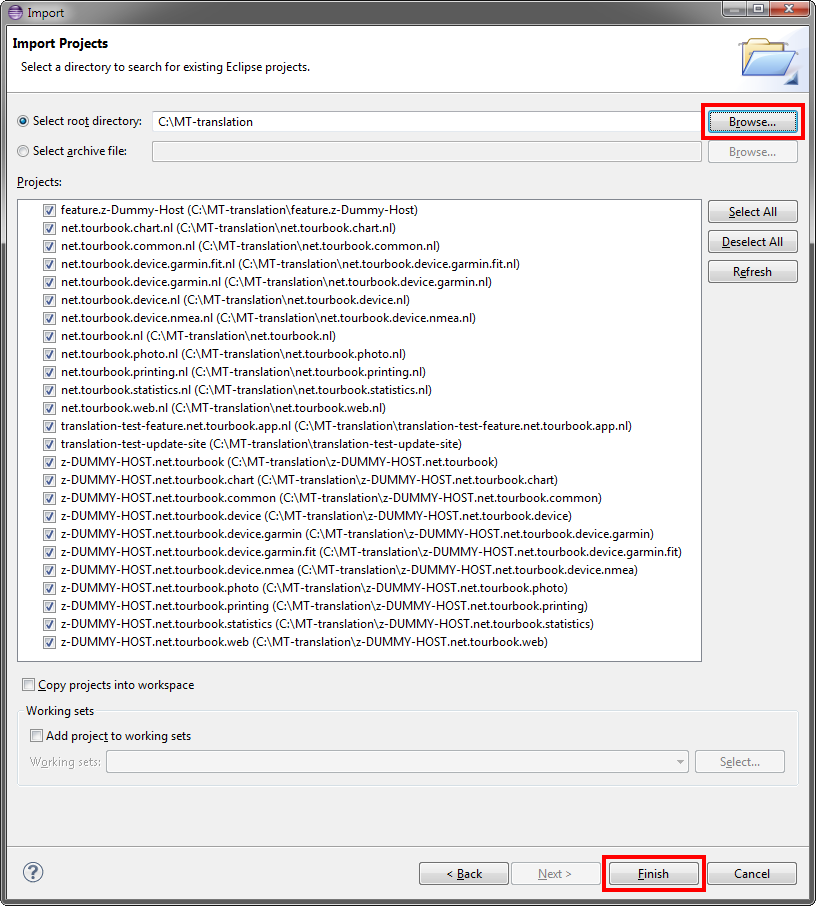
- Select Browse...and select the folder where the translation archive is expanded
- The projects list displays all projects which are contained in the translation archive,
all projects are checked, this is OK - Press Finish which imports all projects
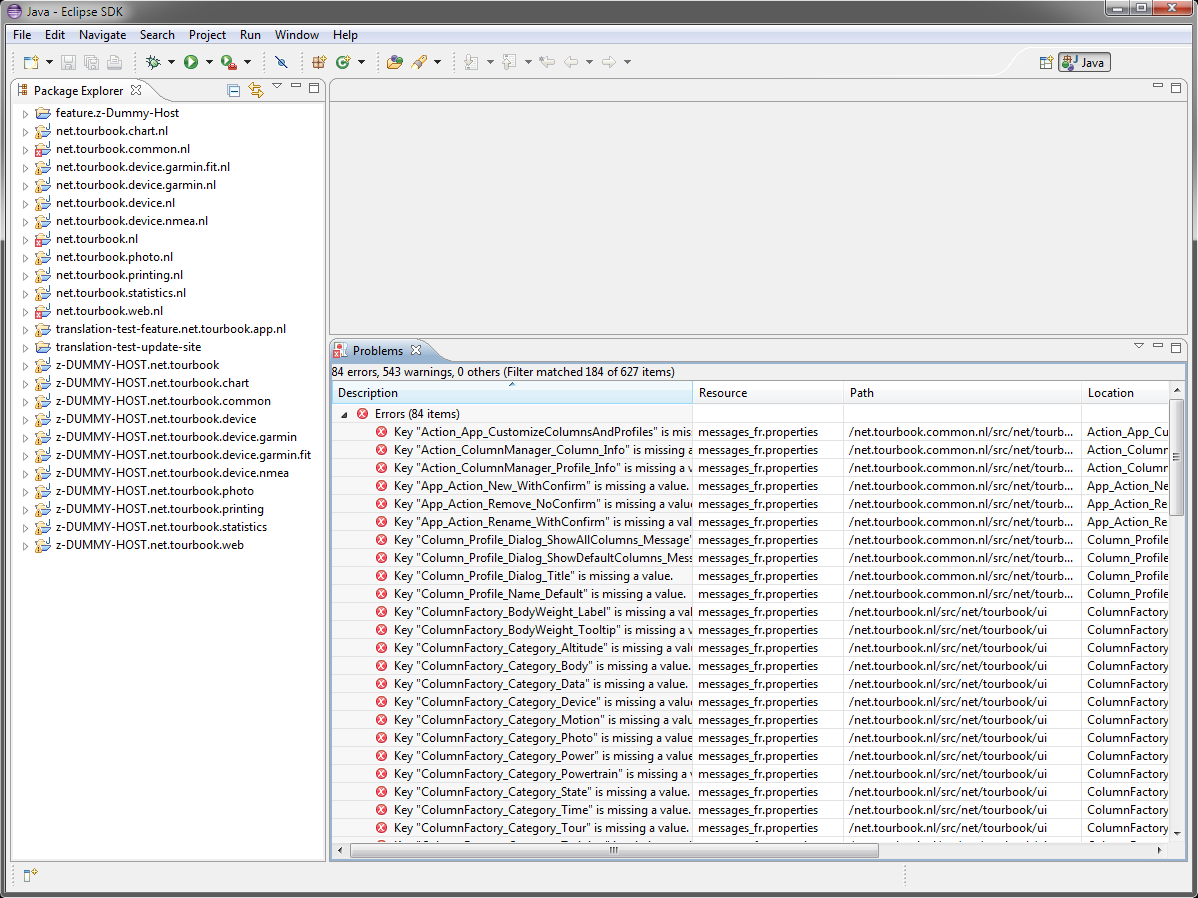
Eclipse looks like this when the projects are imported
There are 3 types of Projects:
|
Name |
Description |
|---|---|
|
net.tourbook.*.nl |
Translation projects where the files are located which needs to be translated |
|
z-DUMMY-HOST-* |
Just ignore these projects, they are necessary that the translation projects do not raise errors because each translation project depends on a host project |
|
translation-test-* |
See Test Translation |
This page is updated for version 16.4


