Adjust Altitude
There are 3 types of devices to measure the altitude:
- Device with barometer
- Device with GPS
-
Device with GPS and barometer
Each of these devices has some difficulties to measure the altitude correctly.
Even a GPS device with barometric measurement, like the Garmin Edge 705, has errors. When this device is switched on, it can take several minutes until the device has adjusting the altitude to the correct value. When you don't want to wait so long and just start immediately, it can take more than one hour until the device has adjusted the altitude.
This tool provides the possibility to adjust the altitude for all kinds of errors.
Open Adjustment ToolThis tool can be opened with the action Adjust Altitude...
|
||||||||||||||||
Adjust altitude without GPS dataNone GPS devices can't use the SRTM data to adjust the altitude but the following adjustment types are available for these devices: |
||||||||||||||||
Adjust altitude with GPS dataWhen the recorded data contain GPS positions, there are two additional possibilities to adjust the altitude: SRTM data are not perfect and have a tolerance of several meters but they give a raw estimation for the correct elevation. The other available adjustment types can also be used to set the altitude data to the correct values.
|
||||||||||||||||
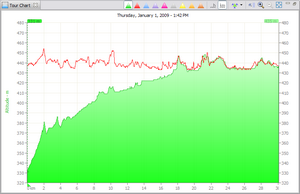
GPS example with SRTM dataDisplayed graphs in this tour chart example:
|
||||||||||||||||
|
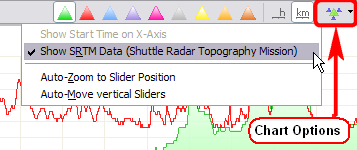
Display SRTM dataWhen the adjust altitude dialog is opened, the SRTM data will be displayed automatically when GPS data are available. To display SRTM data outside of this dialog, select Show SRMT Data in the chart options menu. |
||||||||||||||||
|
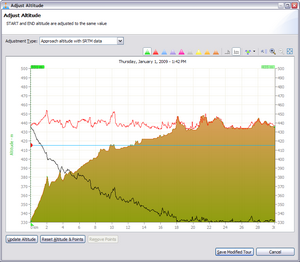
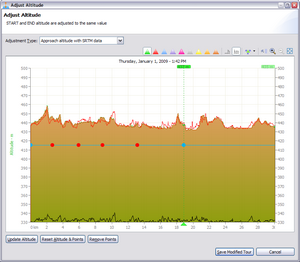
Approach altitude with SRTM dataThis adjustment type is using the original altitude values from the device and approaches them to the SRTM elevation. When a GPS device with barometric measurement is used, this is the preferrable method because the device data are more accurate compared with the SRTM elevation.
These are the actions which can be done in this adjustment type:
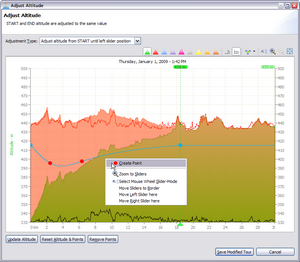
Move left vertical sliderWhen the left slider is moved to the right side, the altitude is adjusted with linear interpolition. The problem is, that in most cases, the linear interpolition does not fit the recorded altitude to the SRTM elevation. To solve this problem the linear interpolition can be adjusted with splines and the spline points which are the big points on the blue line. The left slider must be moved from the start point to the right side to see the spline points. Create Spline PointsSpline points can be created at the mouse position by opening the context menu (right mouse button) and select Create Point. The mouse must be positioned between the start position of the tour and the left slider.
Move Spline PointWhen the mouse is moved over a spline point, the mouse pointer shows the Resize All shape (four arrwos). When pressing the left mouse button and moving the mouse, the point will move and the spline is adjusted immediatedly.
Delete Spline PointSpline point can be deleted by moving the point either before the start position or to the right side of the left slider. The button Remove Points will delete all points except one.
Chart graphs
Spline
Scenario to adjust altitude with Splines |
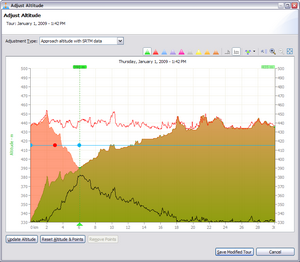
| Left slider is at the start position, this is the default position. | ||
| Left slider is moved to the 6km position | ||
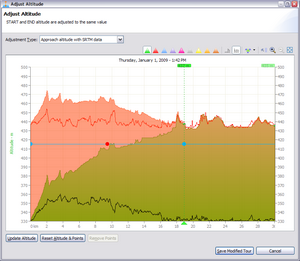
| Left slider is moved to the 19km position | ||
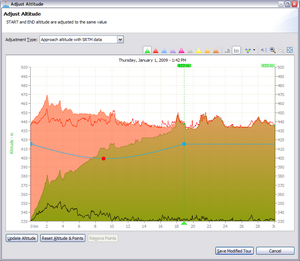
| Red point is moved down to adjust the recorded altitude to the SRTM elevation | ||
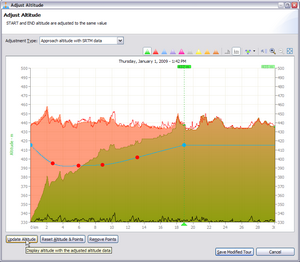
| Additional points are created and positioned to adjust the altitude more precisely | ||
| Recorded altitude is adjusted with 4 spline points, this results in a black line which is approaching the 0 value | ||
|
The action Update Altitude displays the altitude graph with the adjustments and resets the vertical position of the Spline points. The action Save Modified Tour will make the tour adjustments permanent. |
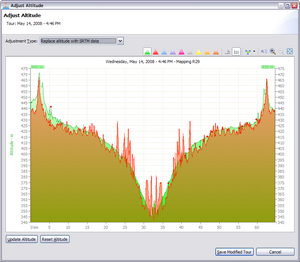
Replace altitude with SRTM data
|
This will replace the altitude value of the recorded tour with the SRTM elevation values. In the tour example, the peaks in the middle of the tour do not exist and are wrongly displayed because the elevation in the SRTM data are not always precisely. |
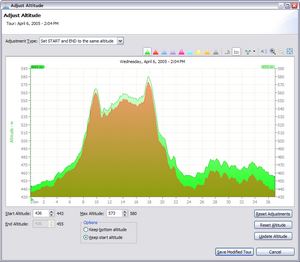
Set START and END to the same altitude
|
Start and max altitude can be manually adjusted. End altitude is automatically adjusted to the start altitude. |
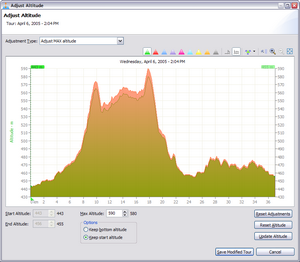
Adjust MAX altitude
|
Maximum altitude can be manually adjusted. The start or end altitude is also adjusted according to the profile. |
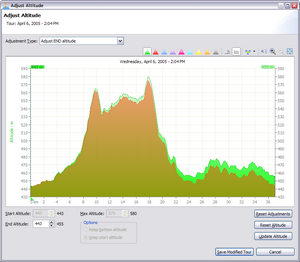
Adjust END altitude
|
End altitude can be manually adjusted. The start altitude will keep the elevation and is not adjusted. |
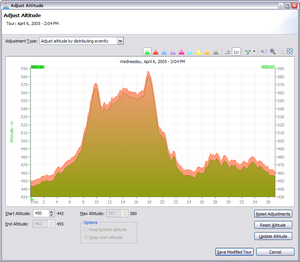
Adjust altitude by distributing evenly
|
The altitude for the whole tour can be adjusted manually. |
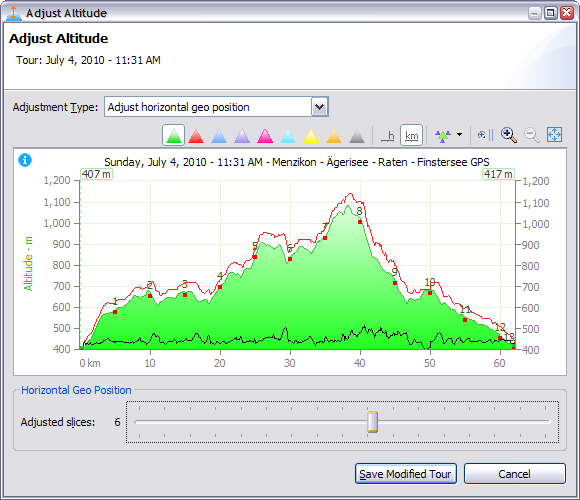
Adjust horizontal geo position
|
This feature is mainly used to adjust the horizontal geo position for tours which are imported from Polar .pdd files. An import from a Polar .pdd file can automatically import related .hrm and .gpx files:
These two files are merged into one tour during the import but unfortunately the contained data can be out of sync when they are merged. To solve the sync problem, the altitude in the .hrm file and the srtm altitude values (which correspond to the latitude/longitude values) can be visualized in this tool which allowes, to see the difference between these data series.
Adjustment ExampleIn the following 3 pictures the black line in the charts shows the difference between .hrm and srtm (.gpx) altitude values.
In the 2nd picture the black line is the most flat line compared with 1st or 3rd picture. Zooming into the chart makes it easier to do the adjustment. |
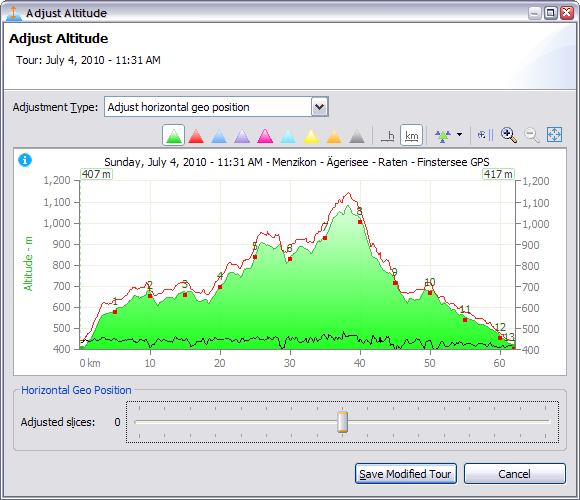
1. GPS tour without geo adjustment
|
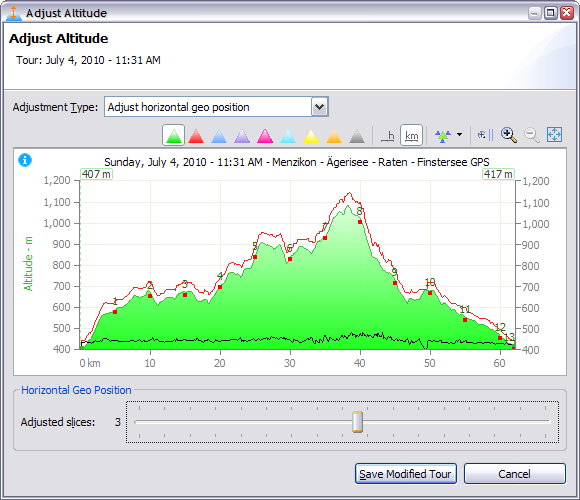
2. GPS tour with the best geo adjustment
|
3. GPS tour with a worsened geo adjustment
|


